Homemade Cake Pop Recipe
Please Read Our Site Policy
Cake pops are the perfect sweet treat for parties, gatherings, or even just a fun family activity. These bite-sized, cake-covered lollipops bring joy to anyone who bites into them. Whether you’re new to baking or an experienced chef, making cake pops is a fun and rewarding experience. With their delicious flavors and eye-catching presentation, these treats are sure to be a hit with friends and family alike.

What Is a Cake Pop?
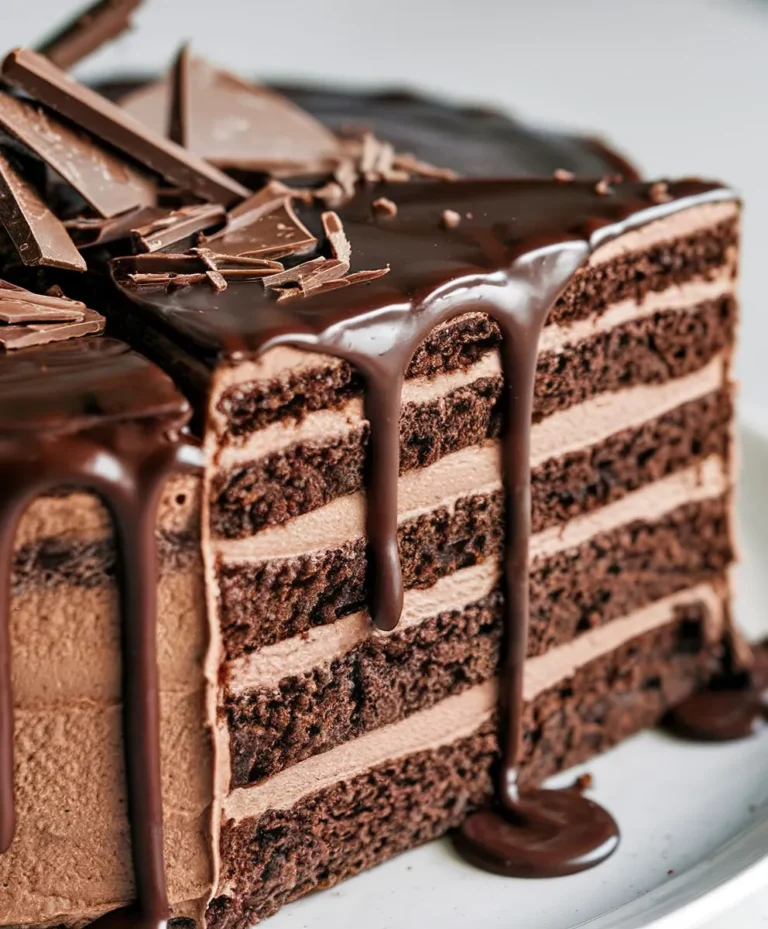
A cake pop is essentially a ball of cake that’s dipped in chocolate or candy coating and served on a stick. The texture is moist, and they come in a variety of flavors, colors, and decorations, making them perfect for customizing to any event or theme. These treats combine the indulgence of cake with the fun of a lollipop, and they’re ideal for serving at parties, weddings, or holiday celebrations.
People Why Love Cake Pop Recipe
- Fun and Customizable: You can decorate them however you like—sprinkles, frosting, or even edible glitter! Cake pops are perfect for all ages.
- Portable and Bite-Sized: These tiny treats are easy to hold, eat, and share, making them ideal for party-goers.
- Perfect for Special Occasions: Whether it’s a birthday, baby shower, or a casual get-together, cake pops make every celebration sweeter.
- Moist and Delicious: Thanks to the cake and coating combination, cake pops stay moist and tender even after they’ve cooled down.
- Creative and Impressive: Cake pops may look complicated, but they’re actually quite easy to make, giving you a chance to impress your guests without too much effort.
Health Benefits
- Portion Control: Cake pops are bite-sized, which can help with portion control compared to larger slices of cake.
- Less Mess: Since they’re served on a stick, they’re less messy, making them easier for kids and adults alike to enjoy.
- Customizable Ingredients: You can choose healthier ingredients or decorate with fruits and nuts to add a healthy twist to your cake pops.
Cooking Tips and Tricks
- Don’t Overmix the Cake: When mixing the cake crumbs with frosting, don’t overdo it. The mixture should be moist but not too wet or sticky.
- Choose Quality Chocolate: For the coating, use high-quality candy melts or chocolate. This ensures a smooth and glossy finish.
- Cool Cake Pops Properly: After dipping and decorating, let the cake pops set completely before handling them to avoid smudging the coating.
- Make Ahead: If you’re preparing cake pops for a large event, make them the day before and store them in an airtight container. You can even freeze them to preserve their freshness.
- Get Creative: Customize your cake pops with different flavors, colors, and decorations to suit any occasion or personal preference.
Cake Pop Recipe
Cake pops are the perfect sweet treat for parties, gatherings, or even just a fun family activity. These bite-sized, cake-covered lollipops bring joy to anyone who bites into them. Whether you’re new to baking or an experienced chef, making cake pops is a fun and rewarding experience
Equipment
- Cake Pan
- Mixing Bowls
- Electric Mixer
- Baking Sheet
- Lollipop Sticks
- Microwave-Safe Bowl
- Spoon or Piping Bag
Ingredients
- 1 box of cake mix (or homemade cake)
- 0.5 cup of water
- 0.5 cup of vegetable oil
- 3 large eggs
- 1 teaspoon of vanilla extract (optional)
- For Coating
- 1-2 cups of candy melts or chocolate chips (milk chocolate, white chocolate, or any of your favorite flavors)
- Sprinkles, edible glitter, or other decorations (optional)
Instructions
Notes:
- You can make cake pops ahead of time and store them in the refrigerator for up to 5 days.
- Feel free to experiment with flavors—chocolate, vanilla, or even red velvet are great options for cake bases.
- For extra flair, try drizzling a contrasting color of chocolate over your coated pops.
Nutrition Facts (Per Serving)
150
Calories (kcal)
8
Fat (g)
20
Carbs (g)
2
Protein (g)
* Nutrition information is calculated using an ingredient database and should be considered an estimate.
Did You Make This Recipe?
I love hearing about your experience with my recipes! Leave a comment, Subscribe and Tag me on social media!


YOU MAY ALSO LIKE...

Hi, I'm Nagi!
I believe you can make great food with everyday ingredients even if you’re short on time and cost conscious. You just need to cook clever and get creative!
READ MORE